This 10 minute DIY makes for the perfect photo tags to add to your wedding favors. No need to be a graphic designer for this project!

What you’ll need:
- 1-3 favorite photos of you and your significant other (engagement photos are a great option!)
- Adobe Photoshop
Step 1
Open Adobe Photoshop, and create a new project. Since we were printing 3×3 prints, we made our project 600 x 600 pixels, and 72 dpi.
Step 2
Import your desired photos into Photoshop.
Step 3
Starting with your first image, select All and Copy into your new project. Re-size accordingly, so it fits into your project.
Step 4
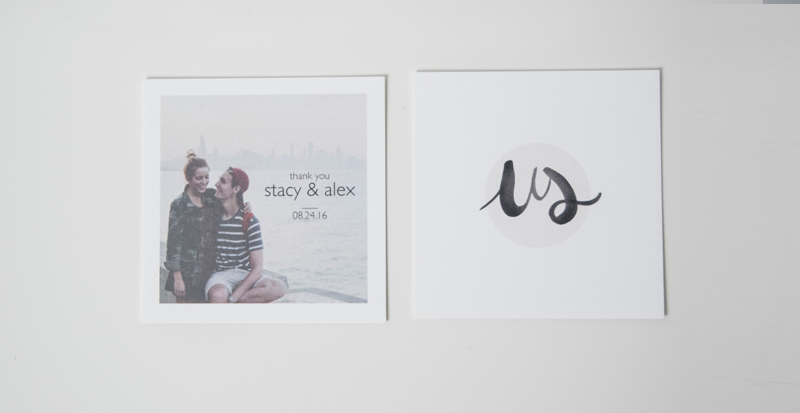
Next, click your text tool and create a text box. Type in your message. Since our cards were being used as wedding favor tags, we kept it simple with the following message:
thank you
kyle & zara
___
09.10.16
[insert your own names + wedding date above]
Font used above: Gill Sans Light
Step 5
Once you have your text, you can resize, change the color and move around accordingly.
We recommend picking a font that’s in contrast to your background, and placing on a background that is solid or not too busy.
Step 6
Once you’re happy with the result, save as a .jpg file.
Step 7
Time to print!
If printing with Impressed app, save your newly made tag to your Dropbox folder.
Step 8
Make photo prints on Impressed app for iPhone.
Make photo prints on Impressed app for Android.
When you open the app, select the PRINTS button. Then select your desired size, and decide on borders. We went with borders because they’re our favorite for this application!
To add your newly made tag, simply select your Dropbox photo source and tap to add.