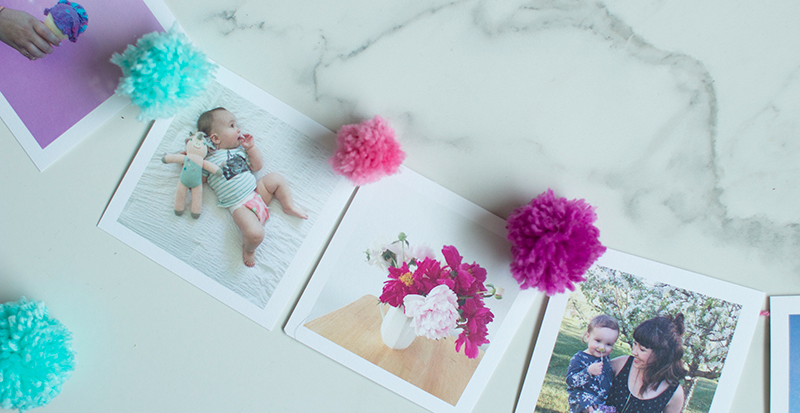
Add this easy banner to the nursery, kids room or any corner that needs a little added sweetness.
Photos and DIY by this month’s feature customer Kassandra. Check out her life well-lived interview here.
What you’ll need:
yarn in various colors for your pom-poms (amount dependant on how many pom-poms you’d like to make, but likely a couple balls of yarns)
yarn for hanging your prints (length is dependant on how many photo prints you’d like to include in your photo banner)
washi tape - any color will do (as you won’t see it)
set of photo prints
scissors
small piece of sturdy cardboard
2 nails
hammer
Steps to making your DIY pom-pom photo banner:
Step 1
Make your cardboard templates.
Trace and cut out 2 circular shaped discs of the same size out of the cardboard piece. Then, cut a hole in the middle. You can use any circles around the house for tracing (ie. bottoms of glasses, etc…)
Step 2
Make your pom-poms.
Once you’ve made your cardboard templates, cut a very long piece of string. Fold the long piece in half and loop it through both discs to secure it. Wrap until the cardboard discs are covered in wrapped string.
Step 3
Take your scissors and cut open the yarn along the edge, using the space between the 2 discs as a guide.
Step 4
Grab another piece of yarn and insert between the 2 discs and knot, pulling the pieces of yarn tight. Pull the cardboard pieces off the yarn. Make sure to leave enough hanging string in the middle to tie to your banner later.
Quick & easy tip: if you’d prefer to fast track your DIY, you could pick-up a pom-pom maker from a craft store like Michael’s.
Step 5
Line up your photo prints, either on a long table or on the floor, face down, in the order you’d like them to hang. I left about 1/4″ between each print so you could see the string poking out between each one once it’s on the wall.
Place your string along the back, leaving enough on either side to hang your banner.
Use your washi tape to affix the string to your prints. I chose washi tape over regular tape, since washi is safe on my prints. Press down hard when attaching your washi tape to make sure it’s really secure.
Step 6
Tie your pom-poms to your banner, wherever you like!
Step 7
Hammer your 2 nails into the wall at the same height. Wrap each end of the string of your banner until it feels secure.
Your pom-pom photo banner is complete!